With all this additional time at home and many of us not wanting to take any more trips to the grocery store than needed, now is the perfect time to learn to make sourdough bread! Not only is this homemade bread delicious, but the health benefits compared to normal bread are really impressive. The fermenting process removes phytic acid and releases important nutrients like magnesium and calcium, making these available to our bodies.
Until the last couple months, I had actually not had any luck making really good sourdough bread. My good friend Kristina gave me some of her starter last year and since then I’ve made a LOT of pancakes and waffles with it. But I never really got the hang of bread…until now.
First off, what is a starter?
To make sourdough, you need a living culture of beneficial yeast and lactobacillus bacteria, called a starter. This is what leavens the bread, breaks down that phytic acid, and gives sourdough its deliciously unique flavor. Truth be told, I have not had great luck making my own starter. The great thing is, your starter grows each time you feed it, so you have an endless supply to use or share!
If you cannot get some from a friend, follow the steps below to start your own. The basic concept is you allow a mixture of flour and water to gather natural yeast and bacteria and ferment on the counter. It’s like capturing magic out of thin air!
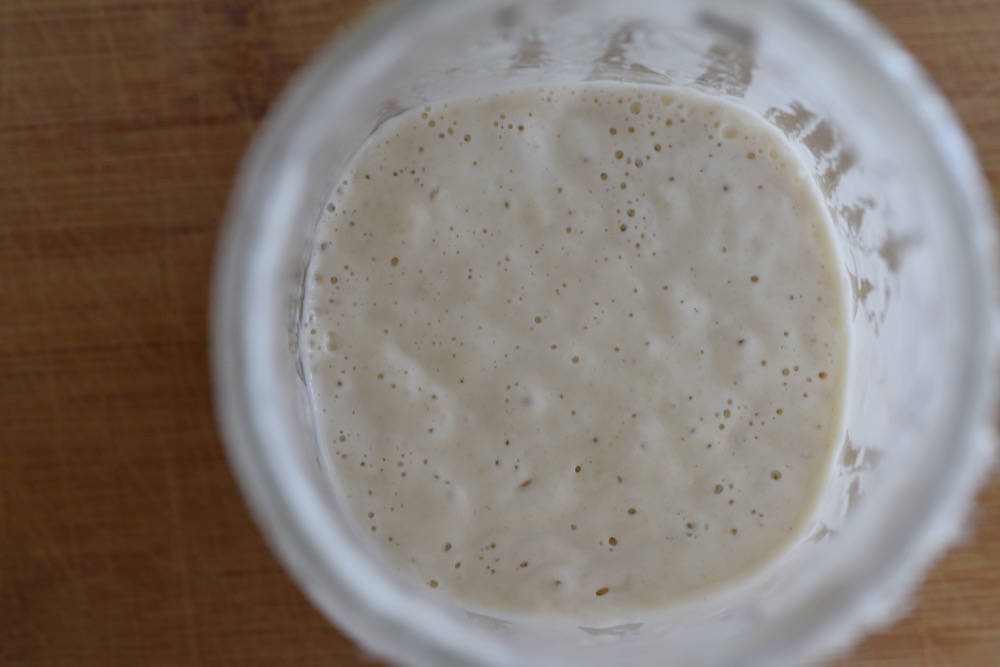
How to Make a Sourdough Starter
Ingredients
- 1 cup unbleached whole wheat flour
- ½ cup filtered water
- Clean Jar or vessel to store it in, best is a 1 quart mason jar or similar
Day 1: Combine the flour and water in the jar, mixing well. Cover lightly. I like to use a paper towel screwed down with the ring from a mason jar lid. This lets air in but prevents bugs or other random things from getting in. Let sit for 24 hours.
Day 2: You may notice some bubbling, you may not. Discard half of what is in the jar (into the compost!). Again, add 1 cup flour and ½ cup filtered water, stir, and leave on the counter for another 24 hours.
Day 3: You should start to see some bubbling/activity and notice a slightly sweet aroma. Again, discard half and add 1 cup flour and ½ cup filtered water. Stir well, let sit for another 24 hours. Some recipes call for beginning to feed your starter twice per day. If you choose to try this, discard first and then feed, spacing the two feeds out as evenly as possible.
Day 4-5: At this point, you should start to notice that your starter roughly doubles in size about 1-4 hours after you feed it. It is now ready to use in recipes. Remember to feed it regularly!
Starter Tips
- Your new starter is like a small new pet and will need to be fed regularly, so be sure you have extra flour on hand. A kitchen scale is also super helpful to measure out the weight of flour and water for both the starter and your loaves of bread.
- When growing your starter, if you notice any off colors or unpleasant aromas, you may want to discard and start over!
- I am NOT perfect or regular about feeding my starter. It has gone WEEKS in the fridge with zero attention and has always come back ferociously. When I want to use it, I leave it out on the counter to warm up and become active. When I don’t plan to use it for a while, back in the fridge it goes. I only feed it weekly if it is in the fridge. This might not work for everyone, but it works for me!
- It is customary to discard half of your starter each time you feed it. This ensures you don’t end up with gallons of starter. But you do not have to throw it away, there are TONS of recipes for using your discard.
Sourdough Discard Recipes
I am a huge fan of King Arthur Flour’s sourdough recipes. There is an entire list of things you can make with your discard. My favorite of all though, is their pancake/waffle recipe, which we have made and modified countless times over the past year. Here is my modified version of the pancakes:
A note, you must start these the night before so that the batter starter has time to ferment.
Overnight sponge:
- 2 cups flour
- 2 tablespoons sugar
- 2 cups buttermilk OR (my favorite) 1 cup whole milk + 1 cup whole milk yogurt
- 1 cup unfed sourdough starter (feed after you make this)
Combine all these ingredients, mixing well, and leave loosely covered on the counter overnight.
Final batter:
- All of the overnight sponge
- 2 large eggs
- 4 tablespoons melted butter OR (my favorite) ¼ cup coconut oil
- ¾ tsp salt
- 1 tsp baking soda
Mix all ingredients in a large bowl. You will notice the batter is somewhat stretchy. Cook as you normally would in a skillet or waffle iron.
how to make a sourdough bread round
For the perfect sourdough loaf of bread in a home oven – with that crackly hard delicious crust – you need an enamel coated dutch oven. You can definitely achieve a tasty loaf of bread in a regular loaf pan, but it will not have the same texture and crust. The dutch oven traps heat and moisture and helps manage how the bread rises and opens up, or “blooms” on the top where you slash it.
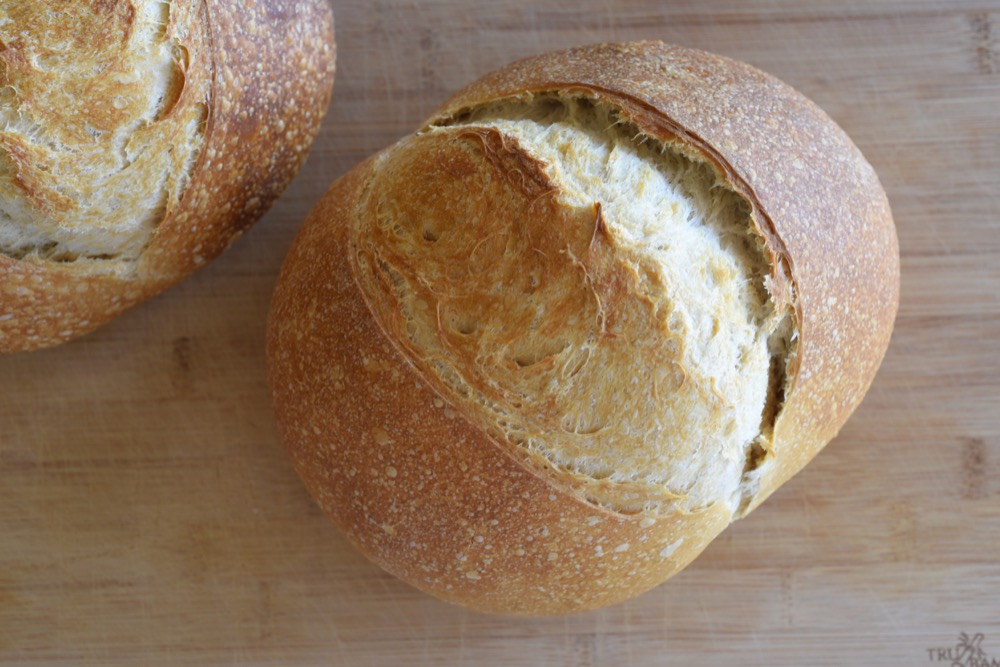
I have tried several different methods but, by far, have had the best success with the Clever Carrot’s beginner sourdough article and recipe. I have made about 10 loaves in the last 3 weeks and all but one have been excellent.
I’ll share the basics of the recipe below, with some tips and suggestions that work well for me. But I urge you to also check out the Clever Carrot’s full article, too.
Every time I have made a successful loaf, I start the process (below) at 8pm the night before I want bread. I tried starting the process in the morning to make a loaf in the evening and the dough just did not ferment long enough – it was flat and didn’t taste nearly as good.
Ingredients for One Round Sourdough Loaf
- 150g bubbly, active starter
- 250g room temperature, filtered water
- 25g olive oil
- 500g unbleached bread flour (bread flour really is best, but all purpose will still work)
- 10g fine ground salt (I use Himalayan pink sea salt)
I find a kitchen scale pretty indispensable in this process. I have a Kamenstein brand scale that I’ve had for years, but I can’t find it online anywhere. This one below checks all the boxes though – it’s digital, has multiple units of measure, stainless steel, and under $30!
Step 1 – Mixing all ingredients [8:00-8:10pm, 10 minutes active time]
I like to put a bowl on my kitchen scale and tare/zero it out. Then, I add 150g of starter, zero/tare the scale, add the 250g water, zero/tare, then add the 25g olive oil. Whisk this together.
Then, put the bowl back on, zero/tare, add 500g flour, zero/tare, then add the salt.
Once all of these ingredients are in the bowl, I use a large spoon to do the initial mix and allow all of the flour to moisten. I finish up with my hands just until all the ingredients are fairly incorporated. This will not be a smooth finished dough by any means.
Step 2 – Autolyse [8:10-8:40pm, 30 minutes inactive time]
Cover with a clean kitchen towel and let it sit for 30 minutes. This is called the autolyse and is essential for developing a strong dough.
Step 3 – Overnight ferment [8:40pm- ~7:00am, 5 min active time, overnight inactive time]
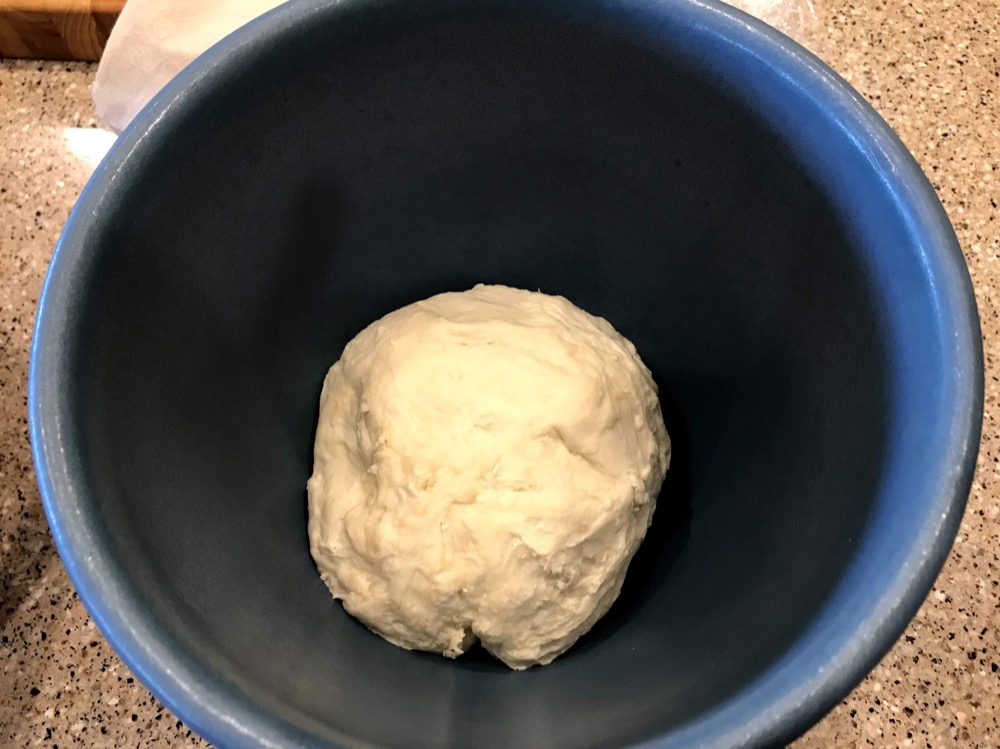
After the autolyse, I form the dough into a rough ball, kneading it together/folding it on itself for maybe 20 seconds and put it in a crock bowl to ferment and rise overnight. Cover with plastic and a towel to maintain moisture.
Step 4 – Shape [7:00am/the next morning, 5 minutes active time]
Scoop the dough out of the container. It will stick to the edges and deflate some. Notice how stretchy it is. I try to scrape as much out with my fingers if any is left behind. The Clever Carrot suggests turning it out onto a floured surface to cut, if necessary. I actually just plop the dough out onto a silicone baking mat to begin shaping.
Begin by taking the top edge of the dough and folding it in on itself, pressing it down in the center. Rotate slightly and repeat this folding process until you’ve made a complete circle. Flip the ball of dough over so the seam side is down. For the next part, see the video below. You want to cup your hands on either side of the dough and pinch at the bottom to create surface tension and a smooth surface on the top of the dough ball.
Step 5 – Rise [7:05am, 30-minute inactive time]
Once you are happy with the appearance on your dough, it is time to put it into the dutch oven for the final rise. I like to use a cut circle of parchment paper at the bottom of my dutch oven to prevent sticking. Gently place the dough into the center and put on the lid. Turn the oven on to bake 450F so it is ready by the time your bread has risen.
I suggest letting the dough rise for 30 minutes. I have varied this length of time anywhere from 30 minute to 1 hour. However, when I let it rise for 1 hour, I ended up with a flatter, less rounded loaf because it “exhausted” its energy during the rise.
Step 6 – Score and Bake [7:35am, ~2 minutes active time, ~1 hour inactive time]
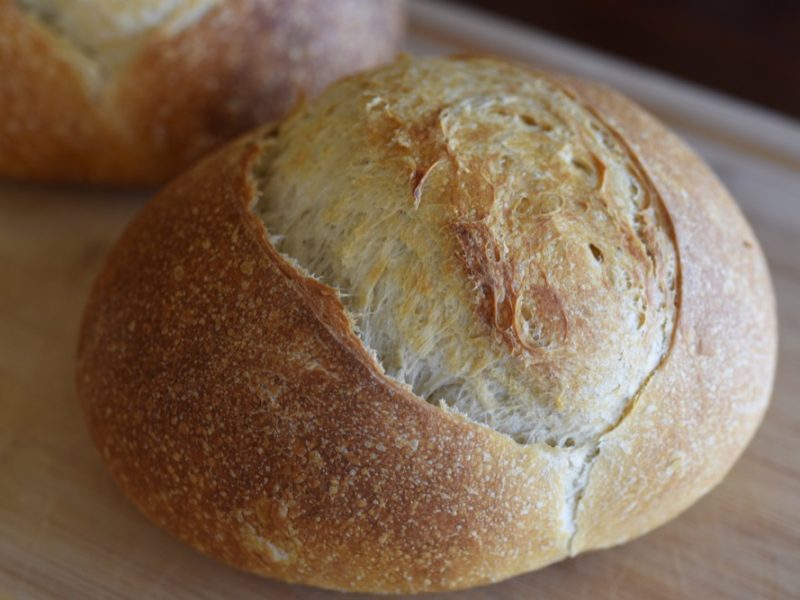
Briefly remove the lid and lightly slice the top of the bread. There are plenty of fancy tools to do this, but a really sharp knife works fine. Slicing, or scoring the top of the bread helps the bread expand out the top, where you want it to. Replace the lid and put it on a rack in the middle of the oven.
Once the bread is in the oven, reduce the temperature to 400F.
There are three parts of the baking process in the oven:
- An initial 20 minutes baking with the lid on. The bread will be pale and the slice at the top should be opening up.
- Remove the lid and bake for an additional 30-35 minutes, during which time the bread will attain a beautiful golden brown color.
- For the final 5-10 minute, place a wood spoon in the door to prop it open and allow steam to escape for a crispy crust.
Step 7 – Remove and cool on a wire rack [~8:30am, 1 hour inactive time]
Remove your bread from the oven and then remove the loaf to a wire cooling rack. Take care with your hot dutch oven – I actually cracked a portion of my solid surface countertop. It is important to let the bread cool for a full hour to ensure the middle is not gummy/stodgy.
I want to echo the Clever Carrot article by saying, making sourdough bread is more an art than a science. No two loaves will be exactly the same, and my exact steps may not work exactly for you. However, if you live in a low desert climate, there may be a lot of similarities for what works for me and you!
Cheers!



 A Beginner’s Guide To Cooking Beans- 20 Recipe Ideas