Before planting a tree there are a few considerations to keep in mind. Some fruit trees are easier to grow in the desert than others. Some may need a lot more in terms of microclimate, specific nutrition and soil. Therefore, we have divided trees into 4 levels with level 1 being the easiest to grow in our desert climate.
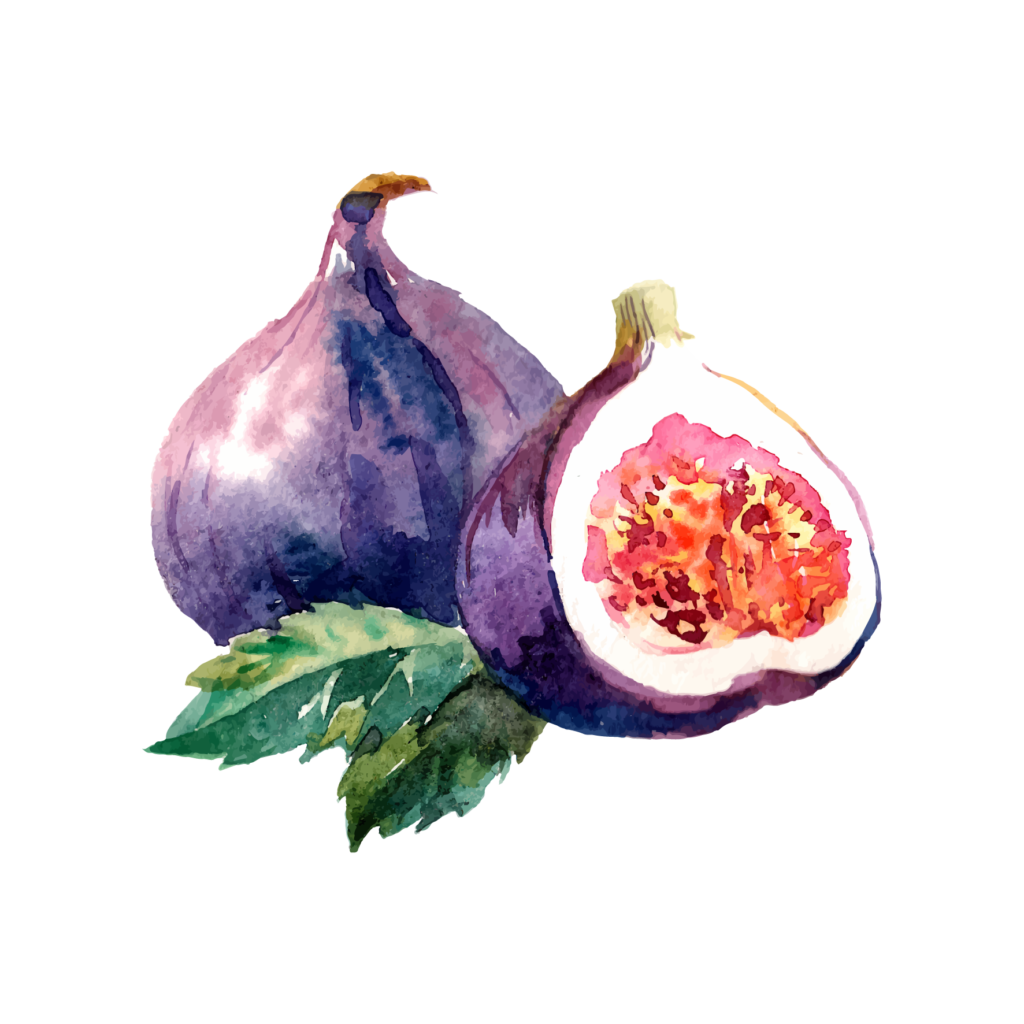
LEVEL 1
The easiest trees to grow in the desert. These include figs, pomegranates, and mulberries. They can be planted into native clay and do not require any specialized care. (This is NOT to say they do not need a basic level of care, such as regular deep watering, and a proper sized hole.) These are the best trees to start with if you are an absolute beginner gardener.
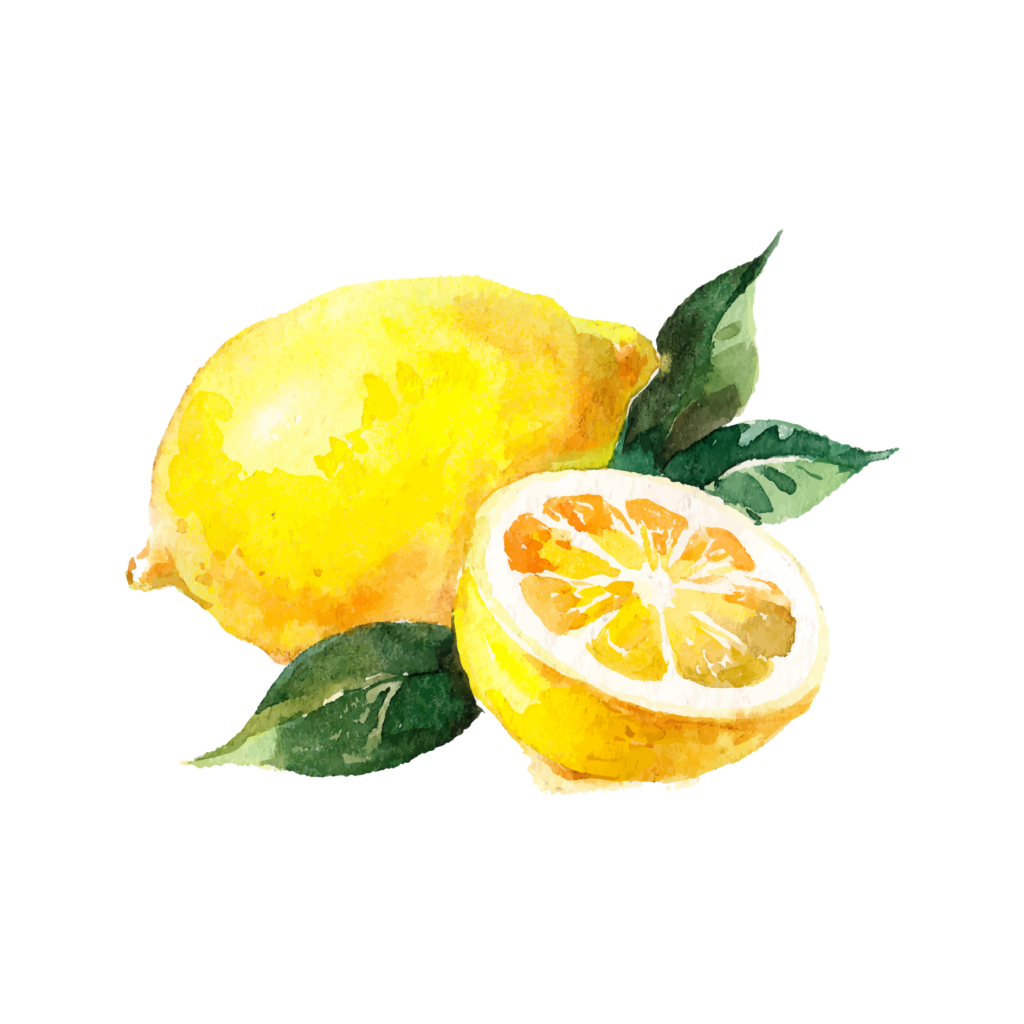
LEVEL 2
This group requires the grower to pay a little more attention to nutrients and microclimates. Root stock knowledge is also advisable for some groups like apples, citrus and trees in the peach family. This group includes citrus, apples, peaches and guavas.
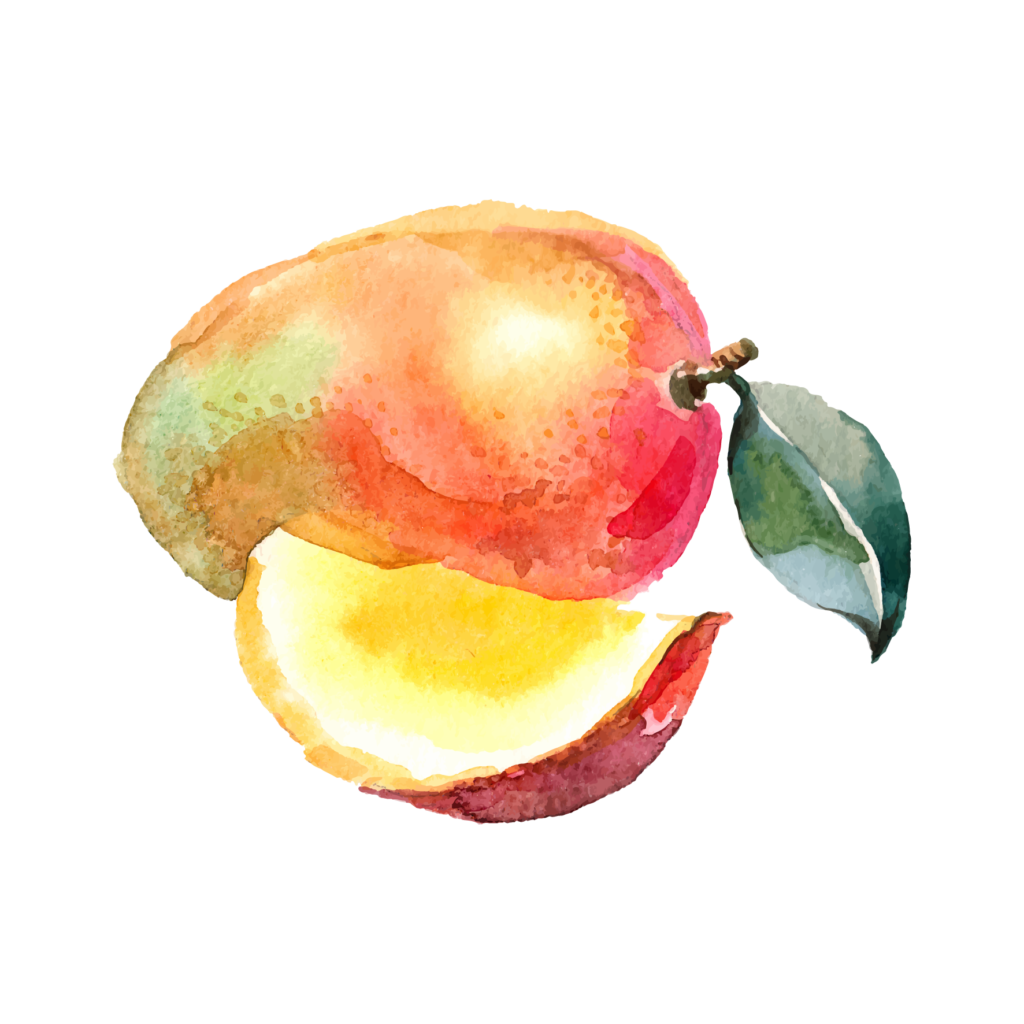
LEVEL 3
Level 3 trees require more help adapting to our climate. They often need shade when younger and protection during winter. This group includes a large number of tropicals such as bananas, papayas, mangoes, persimmons, and starfruit. They are best for the gardener who has a solid understanding of creating microclimates and has already established microclimates by planting out larger trees, or has built some kind of structure to provide shade and cold protection.
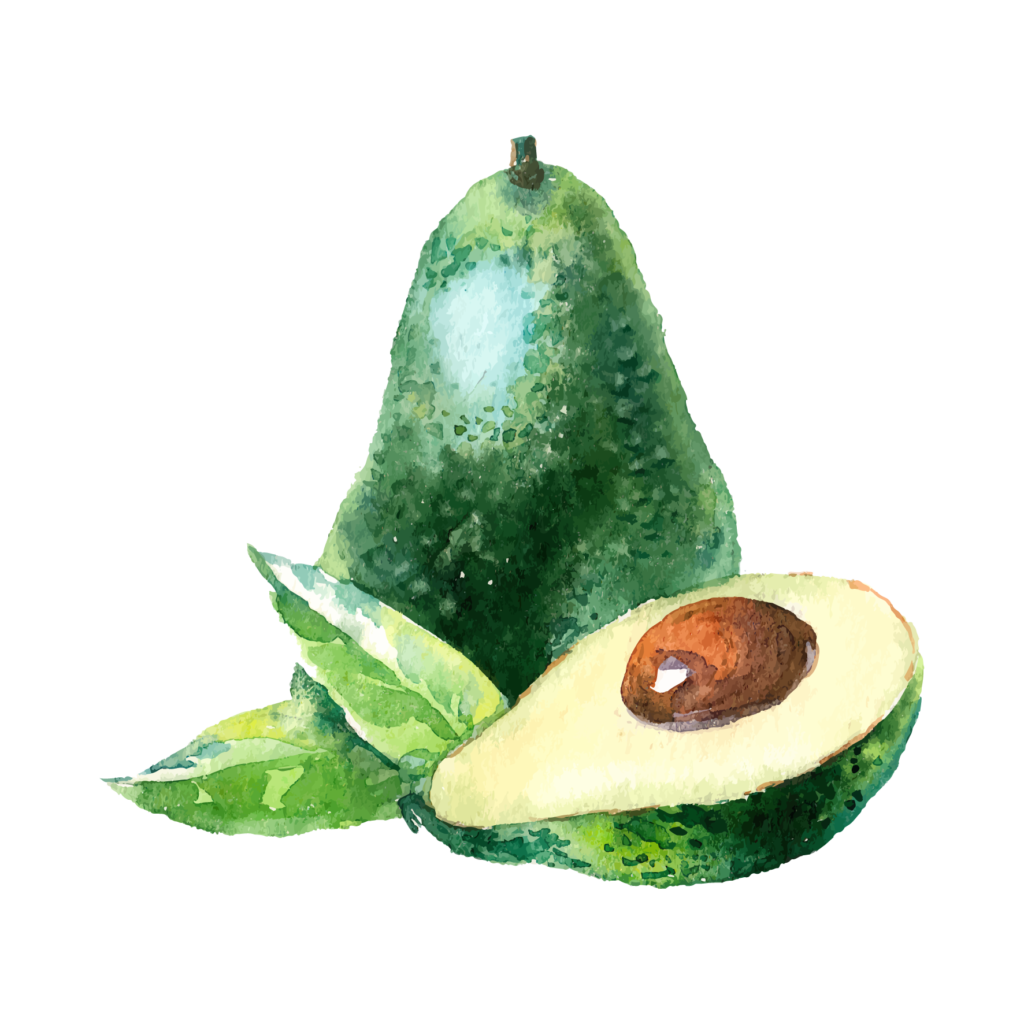
LEVEL 4
This is the extreme tree growing category. These trees will need exceptional care and there is always the risk of losing them. Trees in this group include avocado, lychee, and tamarind. They are almost always tropical trees that are sensitive to extreme temperatures, salt/alkalinity, and dry climates.
UNDERSTANDING
BAREROOT VS. POTTED TREES
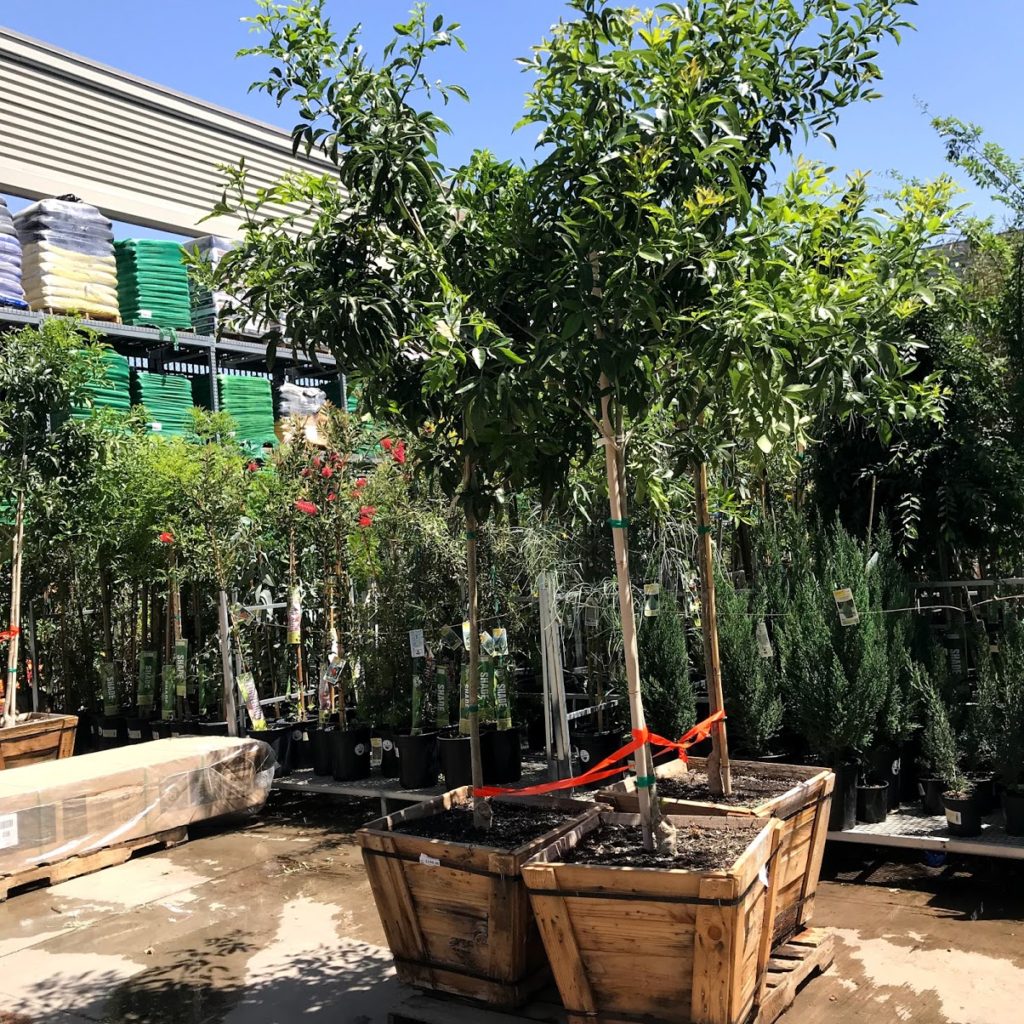
At different times of the year, trees are available either as bare roots or potted trees. Bare root trees are typically available at the very beginning of spring when trees are about to come out of dormancy.
Typically, deciduous trees are sold as bare roots roots at this time of year. Deciduous trees are also available as potted trees later in spring and in the fall. A bareroot tree is a tree that was grown in-ground initially. The commercial grower removes it from of the soil when dormant, and stores it in a cold facility until it is sold as a bare root. This means that bare root trees have lost a large part of their root system. If it was a tree that has a tap root, the tap root won’t regrow, however, new side roots will develop to stabilize the tree.
Many gardeners struggle with cutting the top of a bare root tree when planting. However, reducing the canopy by at least one third is important to reduce stress. The root system has been reduced and will not be able to support the original canopy. Reducing the size allows the energy to go towards establishing a new stronger root system. In addition, there is a great method for growing smaller fruit trees outlined in the book, Grow a Little Fruit Tree (below). The concept is simple, a smaller tree is easier to maintain, easier to prune, easier to protect, and easier to harvest from.
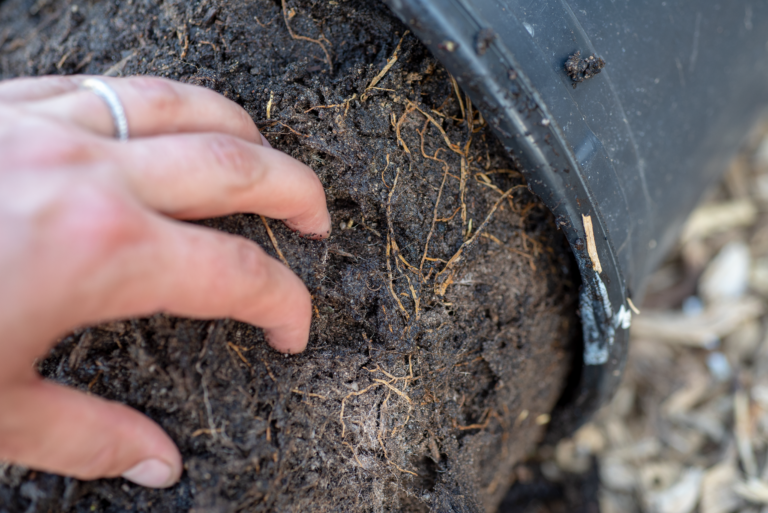
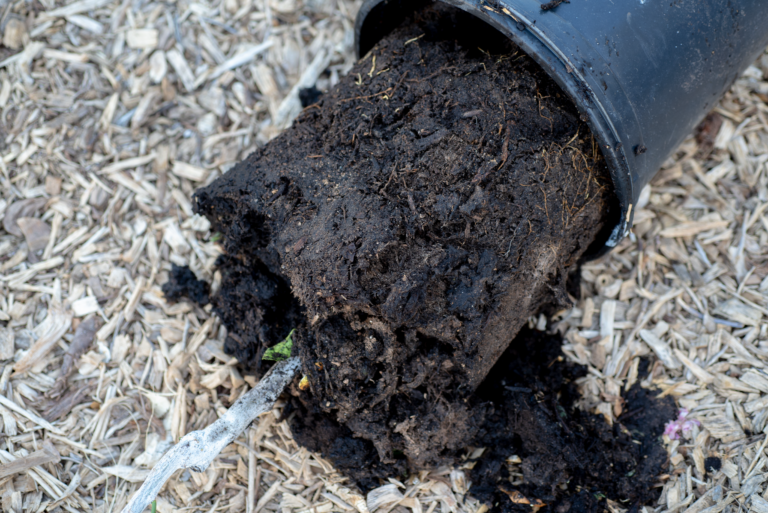
Tropical and sub-tropical trees and citrus, don’t go fully dormant and are therefore always sold as potted trees. As mentioned above, potted trees are available during the fall and spring. While bare roots have a reduced root system, potted trees could have root issues unsuspecting gardeners may be unaware of, such as being pot or root-bound. At the worst, this could mean strangulation of a main root as side roots circle around inside the pot.
How to Plant A Tree In-ground
Step 1: Site Assessment
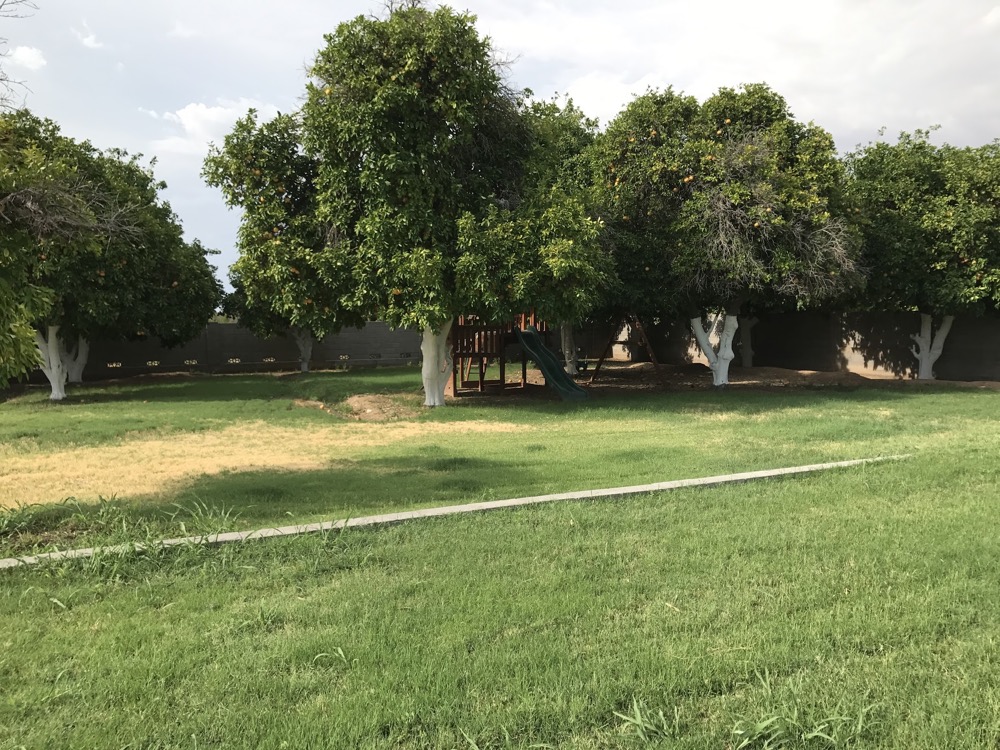
The first step is to pick out the right spot for your new tree. Take into consideration all the requirements for that tree in relation to soil, watering, and sun requirements.
If you do not have the correct microclimate, you will want to create that before planting, or consider planting in a different area that is more suitable to the needs of your tree.
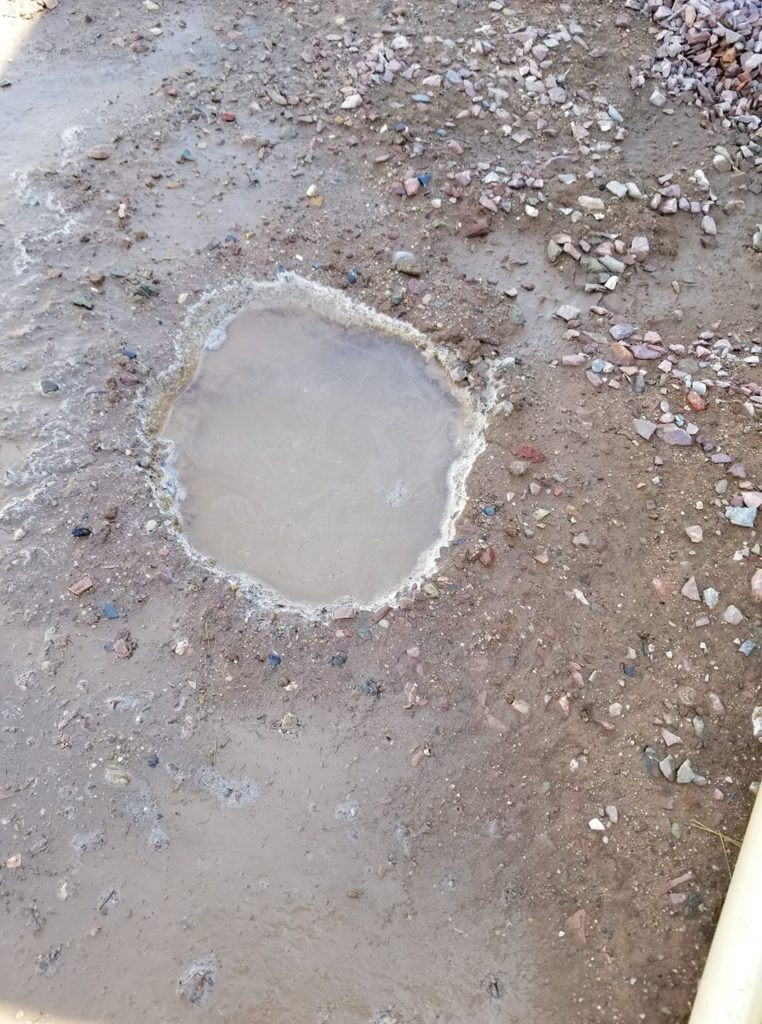
Photo Credit Silvia Messmer
Step 2: Checking Drainage
Evaluate soil drainage at least two days before you plant. (TIP: Consider checking drainage and preparing the hole several months in advance. See below for our advice on preparing planting holes.) Start by watering the spot on a slow drip for about an hour. This will help to soften the native dirt and help make digging the hole easier.
Note: If after a few hours, water has not soaked in, consider moving to a new spot. This is an indication that this particular spot is not a well draining location
If the water has soaked in, the ground should be easy enough to dig a planting hole (and further assess any drainage issues.) Dig a 1’ x 1’ hole and fill it with water and let it drain completely at least twice. Wait twenty-four hours, then check to see if the hole has standing water. If it does, this is not a well draining spot. Water should drain at least two inches per hour. Poor drainage could be due to caliche, compaction, or heavy clay.
Solutions for Drainage issues
Break through caliche. Caliche shows up as light/white-cream layers in the soil. It can be a thin layer to several feet deep. A thin layer of caliche can be punched through with an auger to improve drainage. You can rent a 1-man, gas-powered auger from Home Depot, if needed. Read our article on Soil for more information about caliche.
Use a mix of calcium and sulphur. Soil sulphur and calcium work together to flush salts and improve overall soil health and drainage. Soil sulphur breaks down to sulphuric acid, which bonds with calcium to form gypsum and flush salts. It also lowers pH of the soil. There is also a product called Alka-Liche, which contains actual sulphuric acid and therefore works more quickly. We have not personally used this product by have heard about successes from other desert gardeners.
Plant deep-rooted companions. Consider planting deep-rooted companion plants such as vetiver, daikon radish, dandelion, borage, in the immediate area or even in the same hole if it is wide enough.
Yucca extract. Yucca is a native desert plant that has adapted to the native desert climate and soil (high salt, low water, poor drainage) and has developed methods of thriving. Using yucca extract helps non-native plants utilize some of these advantages by reducing/washing away salt build up in the soil and allowing water to seep into the soil more evenly (it is commonly used as a wetting agent). It also feeds the soil microbiology.
Worms. Worms will move through soils taking organic matter deeper into the earth. This adds aeration and fertility and also improves soil structure.
Organic matter. Consider composting directly in the hole in advance (see below).
Lava rock. Lava rock improves drainage by holding onto moisture and releasing it slowly.
Step 3: Digging the Planting Hole
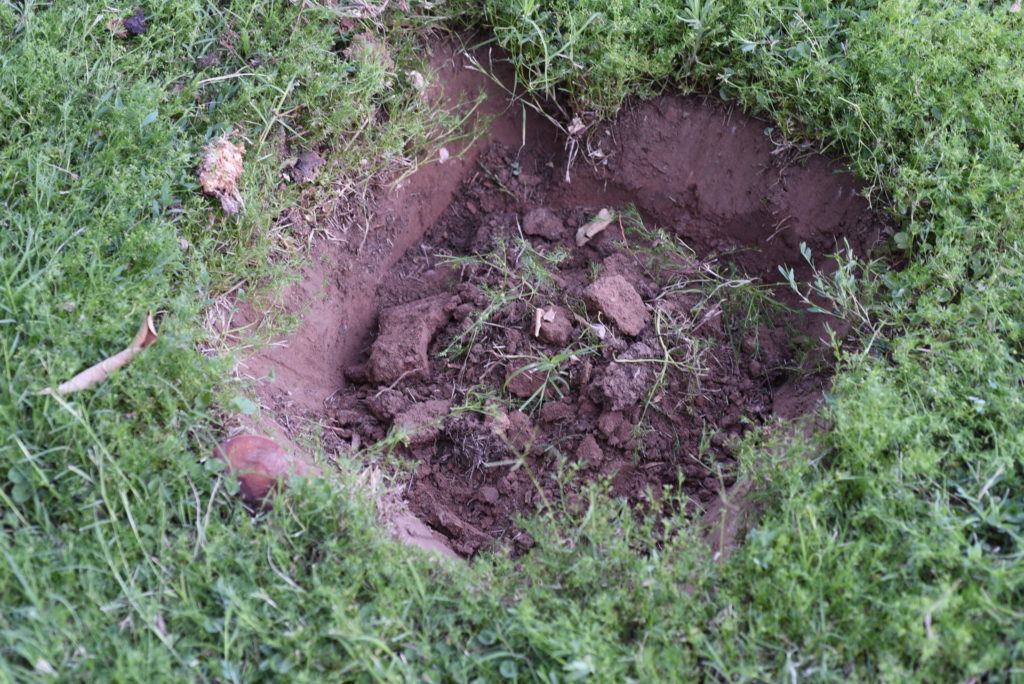
Start by digging a hole 2-3 times as wide and twice as deep as the size tree (container) you plan to purchase.
We advocate for planting in square holes! In a round hole, plants are basically in a large clay pot in our native soil. The roots will grow in the direction of the hole, basically round. A square hole though, has sharp sides and corners. Roots will naturally grow out towards the corners, that are easier to break through and spread out.
In addition to digging a square hole, be sure the sides of the hole are roughed up and not smooth. Use a sharp trowel or small rake to scratch the sides of the hole. This enables roots to more easily break out of the hole into surrounding soil.
Preparing Tree Holes in Advance
For level 3 and level 4 trees, you may want to consider digging and preparing the hole 3-6 months prior to actually planting the tree. Most of the trees in these categories are tropicals that require more organic matter and better draining soil than what naturally occurs in most areas here in the desert.
Additionally, high alkaline soils are also not conducive to growing these trees. Fill in this hole with compost, worm castings, and any organic matter you have on hand (wood chips, produce scraps), which are naturally a more neutral pH. Add worms to the hole. The worms will not only loosen the soil as they move, but will help break down any food scraps and distribute good bacteria and worm castings throughout the area. This will begin establishing the soil life and loosening the earth in preparation for your tree.
You can also consider planting some deep-rooted plants around the hole to further break up the soil – these can be temporary or stay as companions to the tree. Vetiver grass has roots that can reach well over 5 feet deep when mature. Plants like borage and dandelion can be cut down at the end of the season and the roots can be left in place to decompose, further increasing the soil quality.
A Few Words on Hole Size
There is a lot of debate about exactly how deep and wide to dig a hole to give a tree the best start possible, and also not spend days digging (especially in dense clay). Regardless of the exact size of hole you are able to dig, consider the future root growth and health of the tree. Roots should be able to stretch outwards when you place the tree in the hole and not circle around the hole (essentially mimicking being root/pot bound). There should also be sufficient drainage away from the root ball, especially for trees in level 3 and 4 as they are very sensitive to poor drainage.
Step 4: Preparing the Tree
How to Prepare a BareRoot Tree For Planting
If you are purchasing bare root trees in a store (versus ordering online/through the mail) examine the roots carefully to ensure they are in good condition and are not rotting. Also look for wrapped or crossing roots around the flare. Consider the branch structure, looking for trees with evenly spaced branches that form an open goblet shape. A scratch test of the trunk for green cambium is also beneficial. If the tree is not green when you scratch it, it is not alive. If you have ordered online, you should still examine trees using these methods and contact the seller immediately if there are any issues. We trust Peaceful Valley Farms for bareroot trees.
Soak your bare root trees immediately upon arrival, preferably overnight. However, they should not be soaked longer to prevent the roots from rotting. We suggest soaking in a solution of water with some added mycorrhiza and liquid seaweed.
It is best to make sure you dig your planting holes ahead of time so you can plant the tree as soon as it arrives. If you cannot plant trees within 24-hours of receiving them, keep them in a cool place (like the garage) and keep their roots moist. We’ve had success covering roots in moist sand or wood shavings (misting them everyday) until planting.
How to Prepare a Potted Tree For Planting
If you are planting a potted tree, soak the pot well before carefully removing the tree. Examine the roots to make sure the tree is not root bound or diseased. If it is a young tree with no signs of root strangulation, girdling, or excessive crossing, then gently loosen the soil and stretch out some of the outer roots so that they can point outward and downward in your hole.
For larger trees (15-gallon nursery pots and above), soak the tree for a couple of hours to loosen the soil around the roots. This allows for better examination of root health.
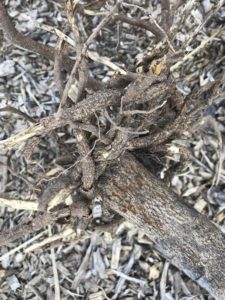
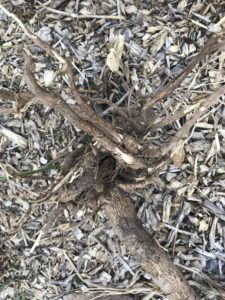
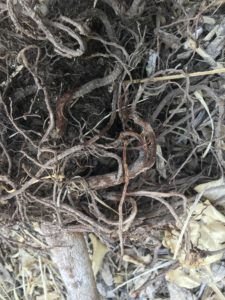
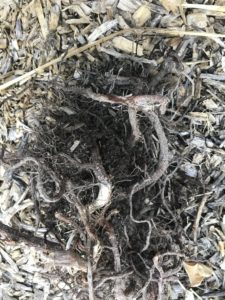
Crossing roots or girdling roots can choke the tree and should be untangled or, if very severe, cut off to avoid issues later.
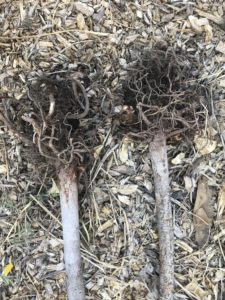
The photos below show examples of three trees with crossed and circling roots. Two of these trees were Ficus Nitida from Lowes. They were excessively rootbound and the roots were not properly trimmed (we live and learn) prior to planting. Both of these trees struggled and ended up dying over the winter despite extra care. The third tree was a neem tree purchased from a local tropical tree nursery. The cold definitely contributed to its demise, but the twisted roots also reveal an additional culprit!
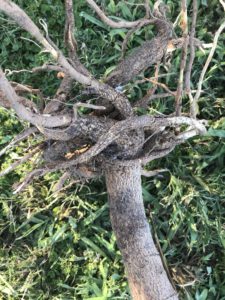
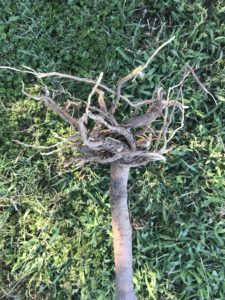
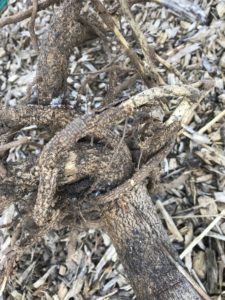
Note: The steps for preparing a potted tree are the same for in-ground and container planting. Be sure your hole is prepared or your potting materials are accessible and ready prior to removing the tree from the pot. Extended exposure to air and sunlight is damaging to roots.
Step 5: Planting
To plant, loosen roots and fan them out. All roots should point outward, which may mean you need to dig your hole wider or trim some roots depending on the exact shape of the roots. Note: Do not trim roots excessively as they will not be able to sustain the tree.
Position the root ball on a mound of lightly compressed backfill. For level 3 and 4 trees, the addition of lava rock is advised for this mounded backfill, to further help with drainage. The tree should be planted so that the root ball is higher than the ground. The reason being that the tree will settle over time and it should not sink so that it is sitting lower than the ground level. This use of gravity (planting on a mound) benefits the roots in two ways. a) they are encouraged to grow downwards and deeper. b) Water will also soak in deeper, preventing the roots from sitting in soggy soils.
If using granular mycorrhiza, add now, making sure the granules make good contact with the roots.
Backfill the hole using a mix of compost, earthworm castings and native soil. Level 1 and 2 trees can be backfilled with native soil only.
Step 6: Double Ring Tree Well
Use the double ring method to create a well and berm around the tree. If planted correctly, the root ball should be slightly elevated. Make a 12-inch wide mound around it.
Essentially, this is so that moisture drains away for the trunk. The mound can made with compost.
Then make a trench around the mound, this is going to hold the water. This is where to water as it will encourage the roots to grow out. Pile mulch on the mound, but keep it away from the root ball and trunk.
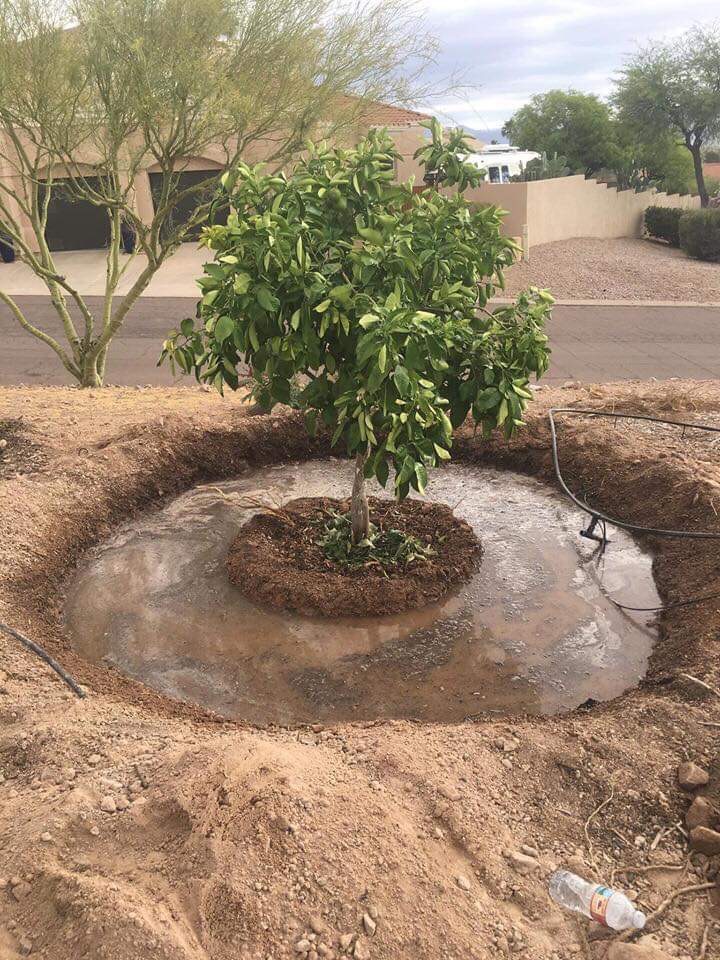
Photo Credit Rose Anouti
Note: With a newly planted tree, you will need to water in the mound area as roots have not yet expanded to the outer area.
Step 7: Staking
The correct way to stake a tree is using a double stake method. This supports the young tree without impeding growth or preventing movement and sway. The ability for a tree to be able to move and sway in the wind strengthens the trunk of the tree, rather than weakening it.
Wooden stakes work well. Choose ones that are at least 2 inches thick and five feet tall. They should be inserted about two to three feet away from the newly planted tree depending on whether it is a smaller or larger tree. The stakes need to be driven into the ground at least eighteen inches deep to ensure they are secure.
Polyethylene strips or 3-inch webbing can be loosely draped around the trees’ trunk and then secured to the stakes.
You should also not put a post right up against the trunk of the tree – a helpful reminder from our friends in the Organic Desert Master Gardeners Facebook group.
This self locking kit is also very useful (see below).
Step 8: Adding Mulch and Amendments
Add amendments in the tree well (not right up against the trunk) once the tree has been planted. Earthworm castings and compost are the best amendments to use. Slow release nitrogen and acidifying amendments are also good. We recommend Cottonseed Meal and Neem seed Meal. Young fruit trees will not need phosphorus in the first year as it is best to not let them fruit yet, which forces energy into growing roots.
Cover the entire area with at least 4 inches of mulch.
Take care not to bury the root ball too deeply. It may be a good idea to use a trunk protector to prevent organic matter building up against the trunk.
Water the mound and fill the surrounding well and use a liquid mycorrhiza if you did not use a granular one.
For continued watering care
See our in-depth article on watering.
How to Plant A Tree IN A CONTAINER
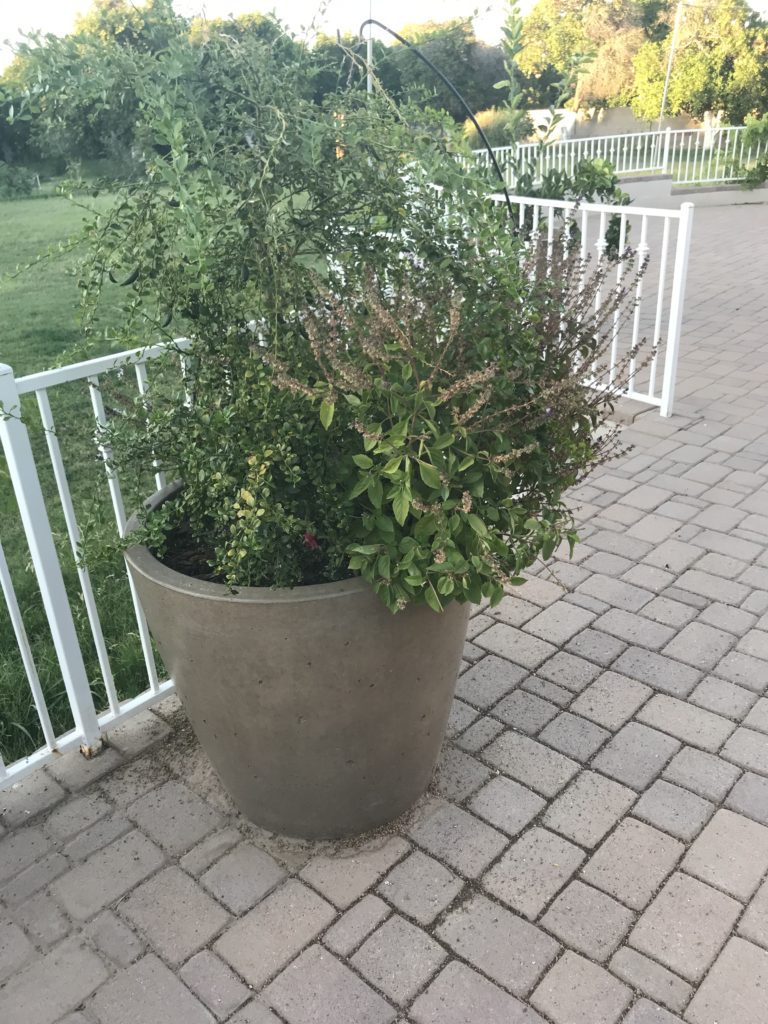
Both bare rooted trees and potted trees can be planted into containers. Preparation is the same as for planting in-ground (details above). The key is to inspect roots and untangle any that cross or trim any damaged or permanently intertwined roots.
Wherever possible, select trees on dwarf root stock or trees that do not grow very large.
Step 1: Preparation
Always use the largest, widest pot you can when planting trees in containers. A 15-gallon nursery pot is the very smallest you should use.
Prepare a mix of 1/3 each compost, potting soil, and native clay. Clay is important for its ability to hold moisture. Our native clay is also very high in trace minerals.
Also add in 1/4 inch horticultural lava rock for drainage, equal to half the amount of compost used.
Because potted tree roots are in a confined space and will not have a regular change in growing medium, it is ok to mix amendments in with the soil. We recommend worm castings, cottonseed meal and neem meal. A soil acidifying amendment also works well.
Step 2: Planting (and Possible Staking)
Care should be taken not to plant the tree too deep, the root ball should sit slightly higher than the rest of the growing medium. A tree guard can be used to protect the tree from getting mulch against the trunk.
Depending on the growth pattern and height of the tree, it may require staking. For example, a low growing bonanza peach that is about 4 feet tall will not need to be staked, but an apple tree with leaner limbs and taller growth pattern will need to be.
See the staking tips in STEP 7 of planting in-ground.
Step 3: Mulching
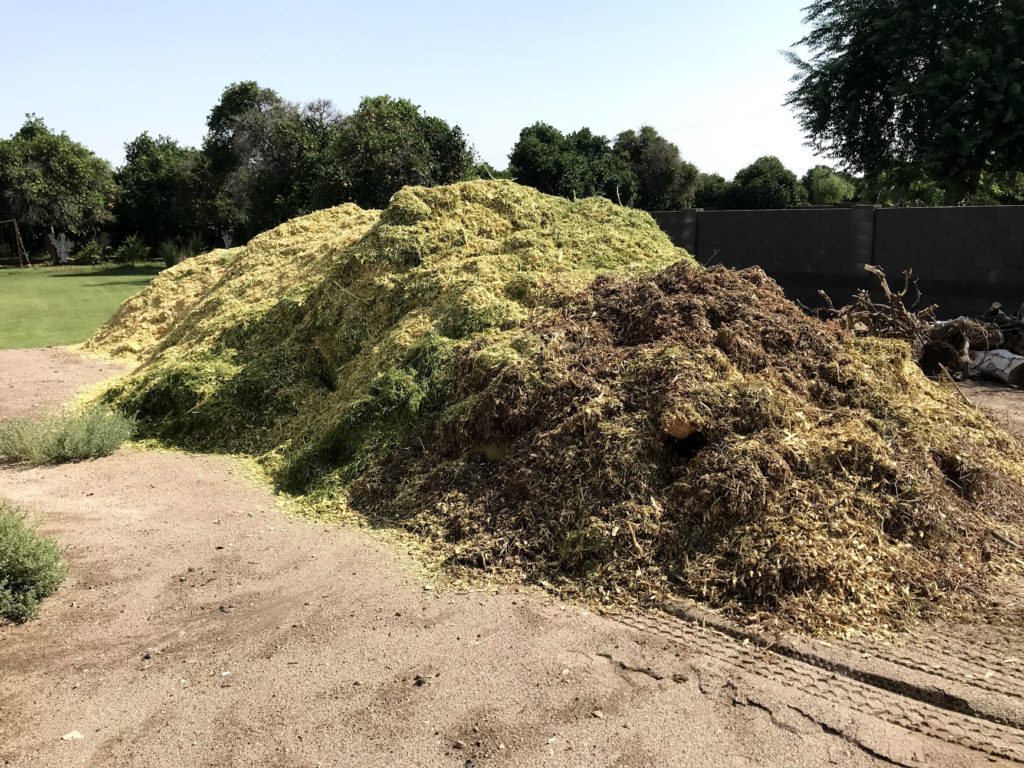
Container grown trees absolutely require mulching.
Ensure that there is at least a three inch mulch layer on top to protect soils, keep moisture in and soils cooler.
The area around a tree can also be planted out with companions. Herbs, small flowers, strawberries, garlic and even bunching onions can be used.
Step 4: Re-Potting
Potted trees are have a confined area for root growth and also a limited amount of soil. Over time the soil in the pot will be used up. They should be repotted every two to three years for continued access to living soil and for overall health.
WATERING AND WATER METERS
A vital tool to have on hand for container growers is a moisture meter. We have more watering tips for continued tree care under Watering. Also, see our in-depth article on watering.


 How to Grow Tepary Beans in Phoenix
Excellent information thank you
Thanks, Len!
So much information! My persimmon tree is not doing so well, hopefully it’s not too late to amend the soil around it. Thank you!
Hi Lorence, if you are using organic amendments, it can be used year round. However, your tree may need something more specific if it is not doing too well. Send me a pic and we can try to help.
Lorence, I have a fuyu persimmon that struggles in the summer. I’ve had good luck when it appears stressed using Fox Farm’s Boomerang. But, like Ayshica said, send some pictures so we can help! I believe the proper microclimate in the summer is also very important for young persimmon trees.